Phone
+1-650-666-095
Contact E-mail
[email protected]
Address
16192 Coastal Hwy, Lewes, DE 19958-3608
How to Use a Hydration Backpack: Tips on Finding Your Perfect Fit


Have you ever found yourself thirsty while participating in an outdoor activity but not wanting to stop what you’re doing to take a drink? No need to worry about stopping the fun to stay hydrated any longer. Learn how to use a hydration backpack and choose one that fits your adventure needs.

What is a Hydration Backpack?
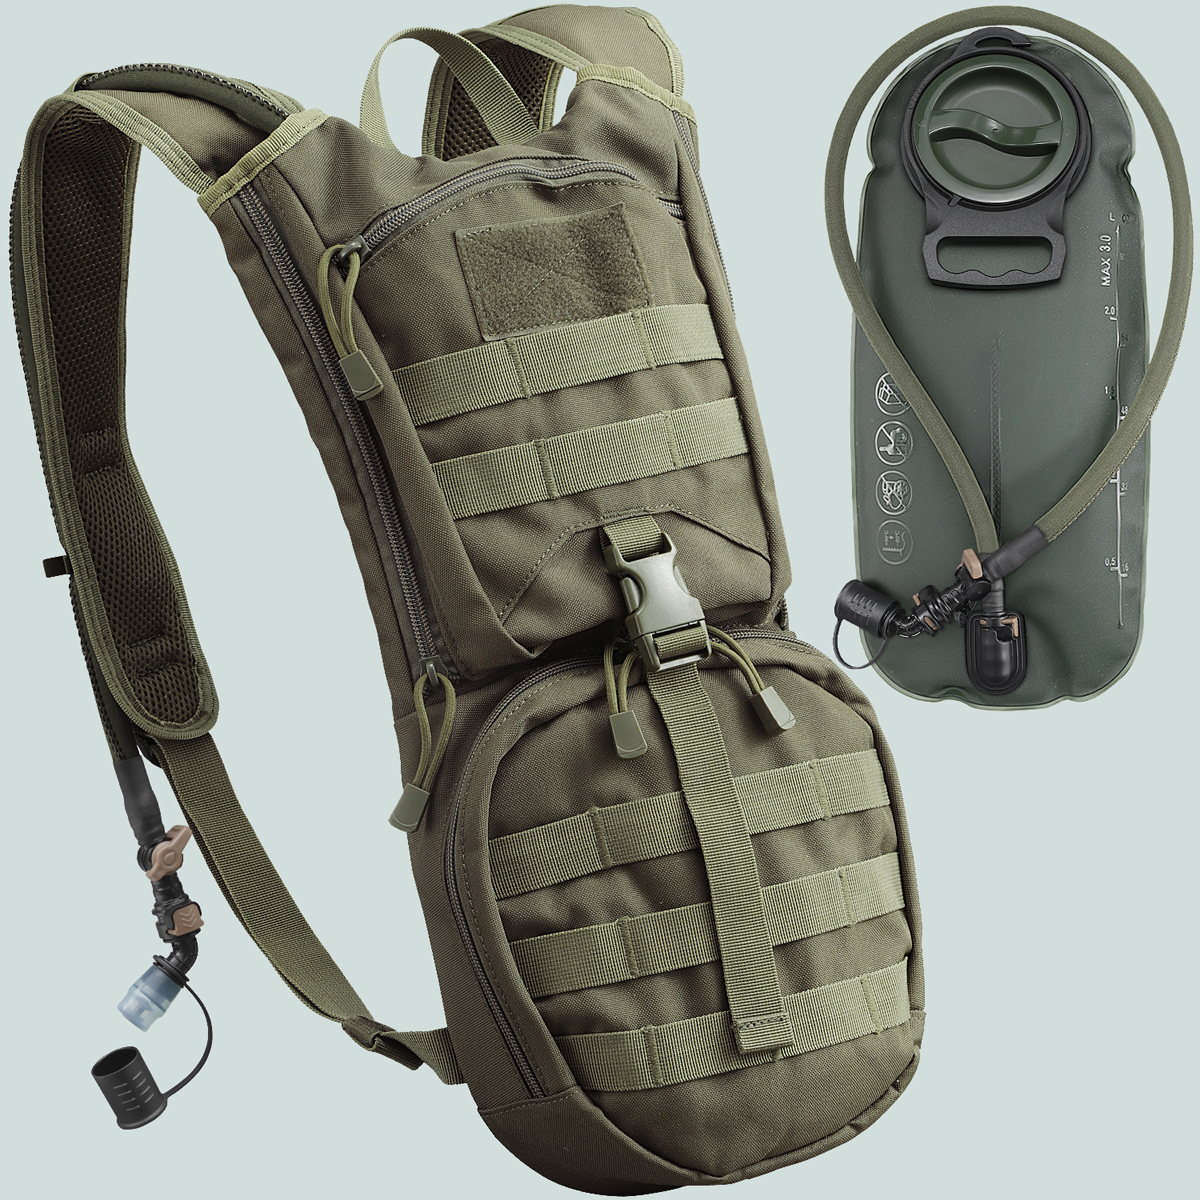
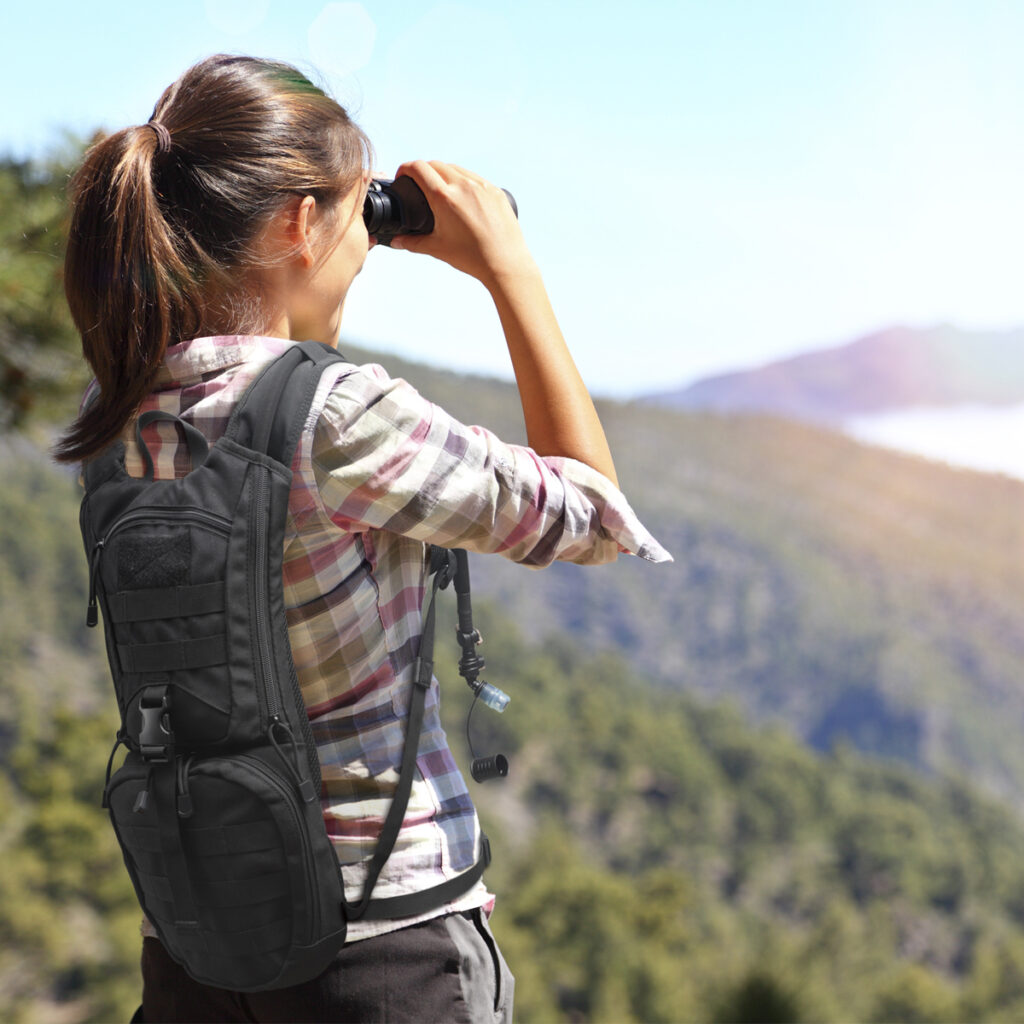
A hydration backpack is a pack that contains a reservoir that allows you to drink hands-free.
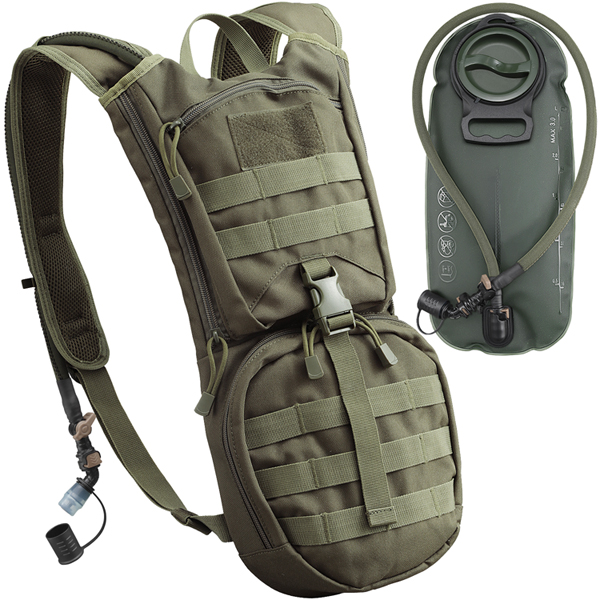
This all-in-one system includes an interior pocket for a hydration reservoir paired with a day pack with room for additional gear and supplies. Users access their water via a long tube with a bite valve that allows liquid to flow through. These backpacks make it easy to stay hydrated!

How to Use a Hydration Backpack in 6 Easy Steps
If you’re new to hydration backpacks, you need to learn how to use a hydration backpack before you set out on your first adventure. It’s also helpful to know what you’re getting yourself into regarding preparation and cleanup after use.
Here are 6 easy steps to using a hydration backpack.
1. Detach the Bladder
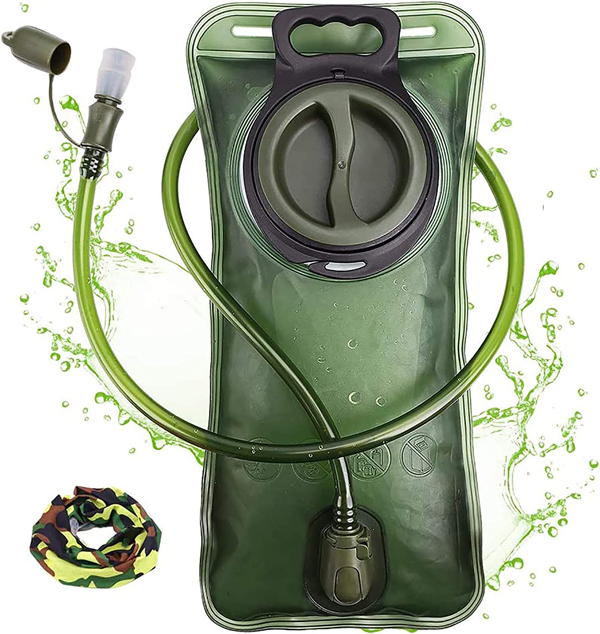
When you first receive your Hydration Backpack, you must detach the bladder. Once it is detached, you’ll have to clean it thoroughly. Directions for how to clean your bladder are listed further below.
After cleaning, hang your hydration backpack bladder upside down to dry. Putting it over a vertical paper towel holder or standing it up in your drying rack will help it to dry in full.

2. Fill the Hydration Bladder
Once the bladder is clean and you’re ready to take it on its first adventure, fill it up! Simply unscrew the hydration pack lid and stick it under the sink until it’s nearly full.
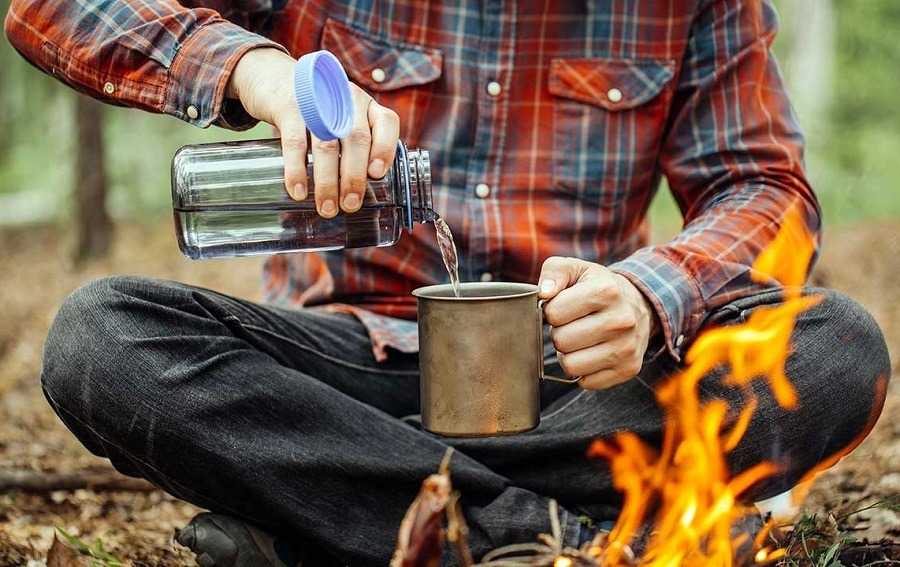
If you’re on a trip where you’ll be filling up from a natural source, such as a stream of a lake, it can get a bit more challenging. We recommend filling one of your rigid water bottles with purified water and pouring that bottle into your hydration backpack reservoir.
3. Place it Back in the Backpack
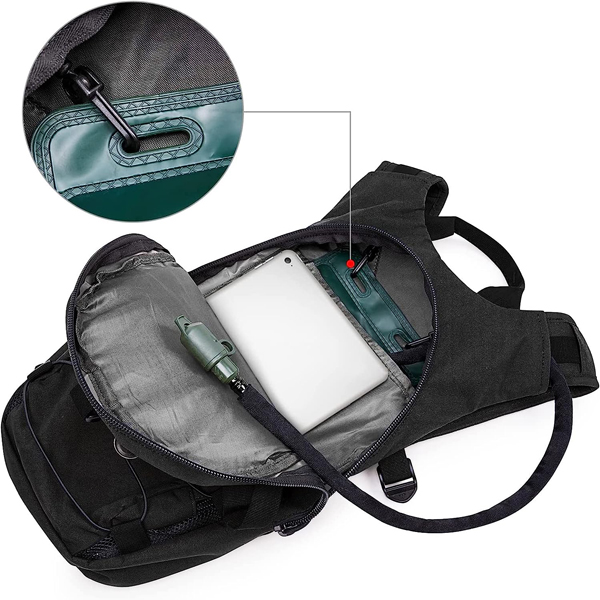
This requires some care to ensure your hydration backpack bladder goes back into your pack properly.
First and foremost, pay attention to how your hydration reservoir is attached to the backpack when you remove it.

4. Test the Tube
Before you head out on an adventure, test the tube. Make sure the liquid is flowing, and there’s no leakage from any part of your reservoir.
5. Clean After Use
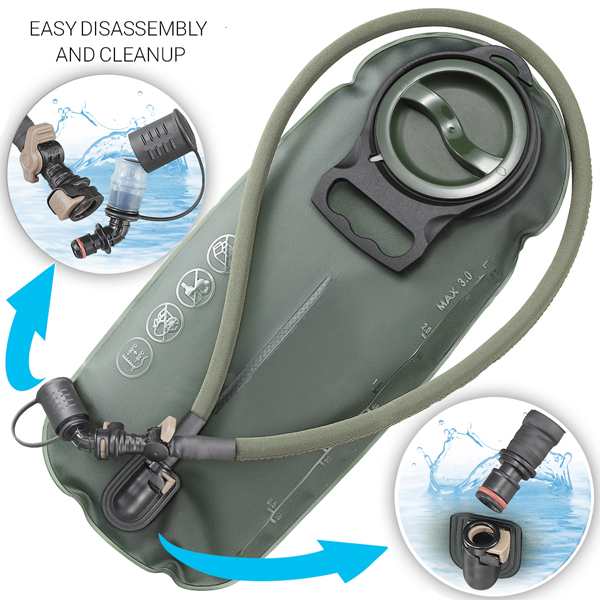
It is important to clean your hydration backpack reservoir after each use. It can be time-consuming, but it is necessary to maintain the integrity of your water bladder.

- First, gather your cleaning supplies. This includes cleaner, dish soap, and brushes.
- Next, fill your hydration pack with hot water and cleaner, shake it up, and let it soak. You can use reservoir tablets, dish soap, and lemon juice to help clean your bladder. Hold the bladder and pinch the bite valve to get the solution flowing through the tube. After you notice it is leaving the valve, let the bladder sit for 5 to 10 minutes before draining.
- Drain the bladder and then scrub and rinse thoroughly. We suggest purchasing cleaning brushes for your reservoir and the drinking tube. If you don’t have these, a kitchen scrub brush will do the trick for the main compartment.
- After cleaning, allow your hydration pack to dry all the way. Hang your reservoir and slip a kitchen whisk inside to keep the bladder wide open. Use paper towels to soak up any remaining water after it has hung for some time. Putting your bladder away with water left inside can lead to mold growth.
You might also want to check out this Youtube video and learn some tips and tricks on how to use a hydration backpack/bladder.
6. Store Hydration Bladder
How you store your hydration backpack bladder is the key to its longevity. You don’t want mold growth inside your bladder, mainly because you might not notice it immediately.
One of the most popular places to store your hydration backpack bladder is the freezer. This prevents mold from growing inside of your bladder.
If the freezer is out of the question, store your hydration bladder in a cool, dry location.
How to Choose a Hydration Backpack
When choosing any outdoor gear, it’s essential to do your research! Spend your hard-earned money on a product you know will deliver the results you’re looking for.
Design
Some hydration backpacks are designed with the primary purpose of helping you hydrate. Others are designed to help you carry water and other vital items for your adventure.
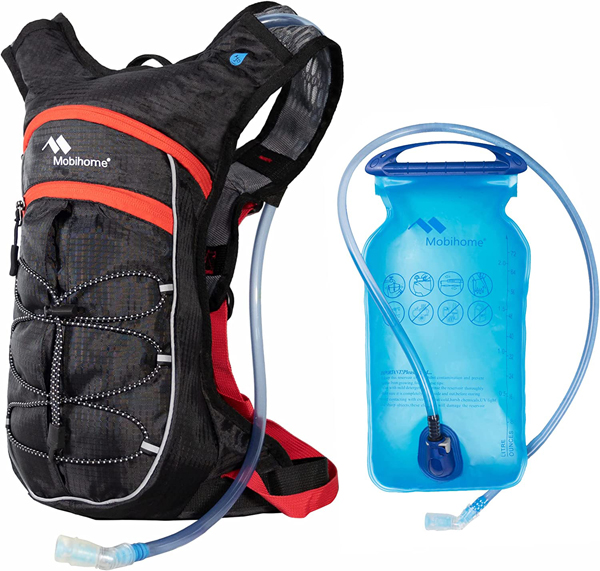

A backpack, vest, and hip packs are outdoor enthusiasts’ most common hydration pack designs. Choosing which one works best for you depends largely on the type of activity you’ll be participating in.
With many backpacks, the reservoir sits within an internal pouch with additional space for other gear. Choosing a design with exterior and interior pockets will allow you to better organize your hydration backpack for your planned adventures.
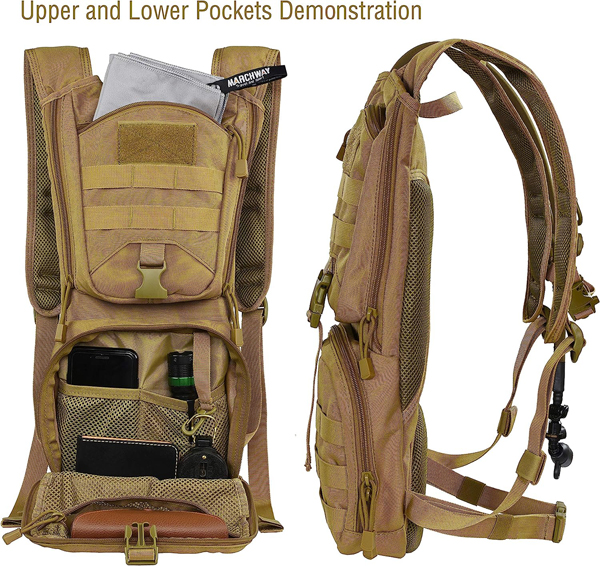

It’s also important to look into the reservoir design. Ensure the opening is large and easy to clean, making the preparation process more manageable. Additionally, pay attention to the tube and mouthpiece. A quick-release valve will allow you to refill your reservoir without the hose connected. A 360-degree rotatable mouthpiece is also a great feature to look for.
Regardless of which style you’re looking for, a streamlined, functional design should be at the top of your list.
Capacity
Pay attention to the size of your hydration reservoir! Fluid capacity is important. You want your bladder to carry enough water for hydration while still being a practical size and weight.
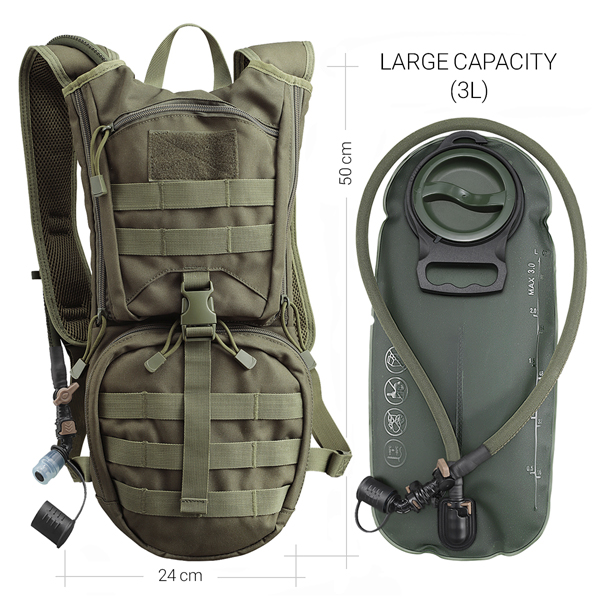

A 3 Liter hydration bladder should be enough for most day hikes. The general rule of thumb is 1 liter of water every 2 hours of hiking. Using this calculation, 3 liters of water is enough for 6 miles of hiking. It’s important to note that every hiker has different hydration needs! Bringing a water purification system along will allow you to hike additional mileage.
Additionally, consider other items you might be putting in your bag. This is a personal decision, but most people use hydration backpacks while completing activities where you may want more than just water.
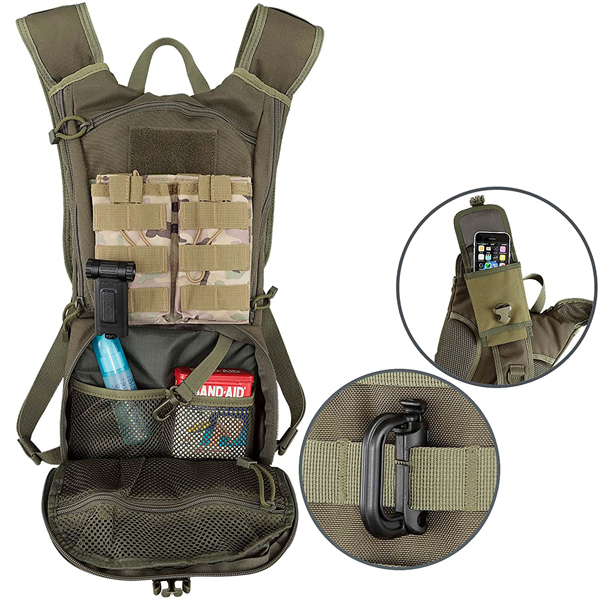

If this is your goal, you’ll need to make sure that the backpack portion of your new bag is large enough for a few layers, snacks, and any other essential items. If you’re looking for a convenient vessel to carry your water, a lumbar pack or hydration vest might be a better choice.
Fit
How does your bladder fit in your backpack? And how does the backpack fit you? These are important questions to ask yourself when looking for a hydration backpack.
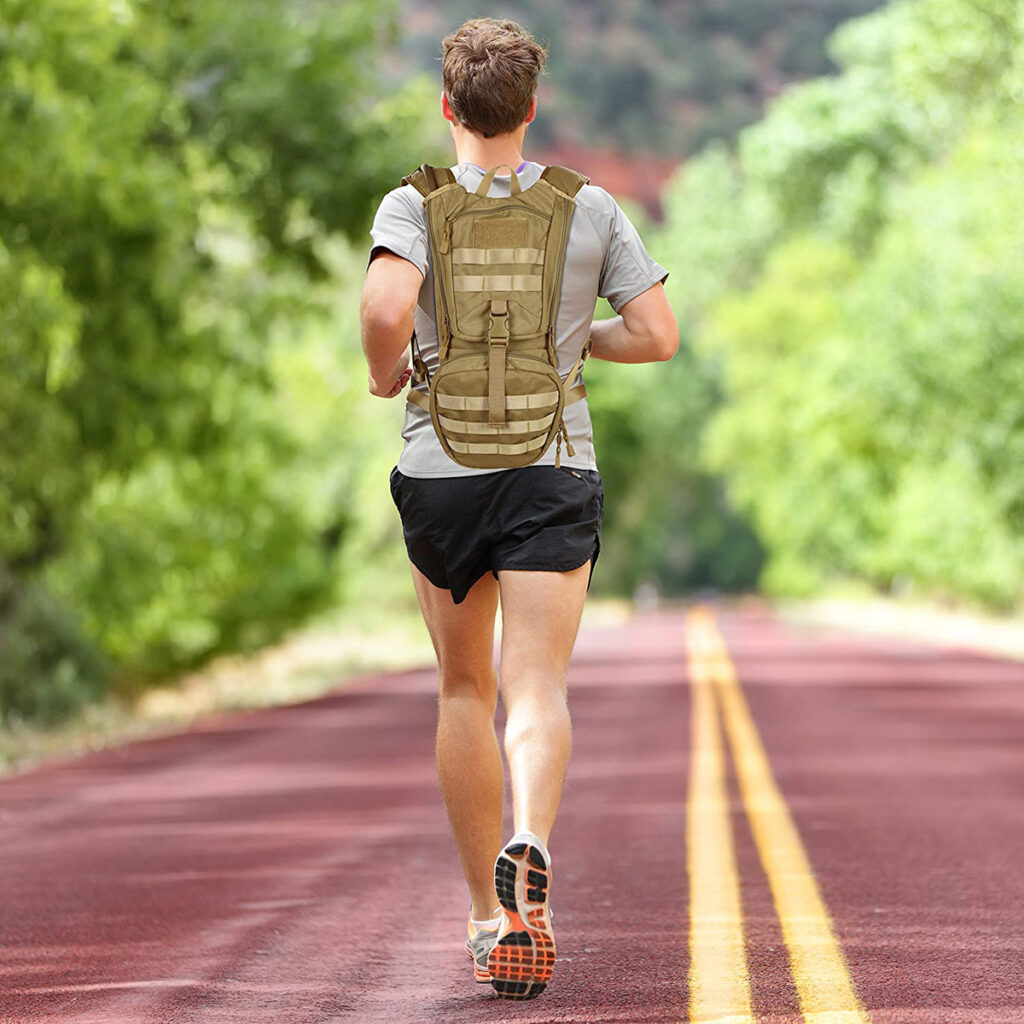

You want to ensure the bladder securely fits in the backpack and has a pocket separate from where the rest of your gear will be.
Additionally, you want your hydration backpack to fit you comfortably. Find a backpack with an ergonomic design. A pack with adjustable straps that fit your shoulders, chest, and waist will prevent bounce and improve comfort.
Ensure the material allows airflow to keep your back cool throughout your activity. The shoulder straps and waist belt material should also be padded. This will ensure proper fit and comfort on the trail!
Price
The price point is an essential factor when purchasing a hydration backpack. Choosing a backpack within your price range while including all the other features you’re looking for can be challenging.
Your backpack’s size, functionality, and quality will all determine the price. Generally, a larger pack with more features will cost you more. The quality of the materials used for the backpack and the hydration bladder will also determine the price point.
Material
Safety and durability are key when taking a product into the backcountry.
The external portion of your hydration backpack should be made of high-grade, sturdy nylon. Mesh on the shoulder pads and back help with breathability and overall comfort.
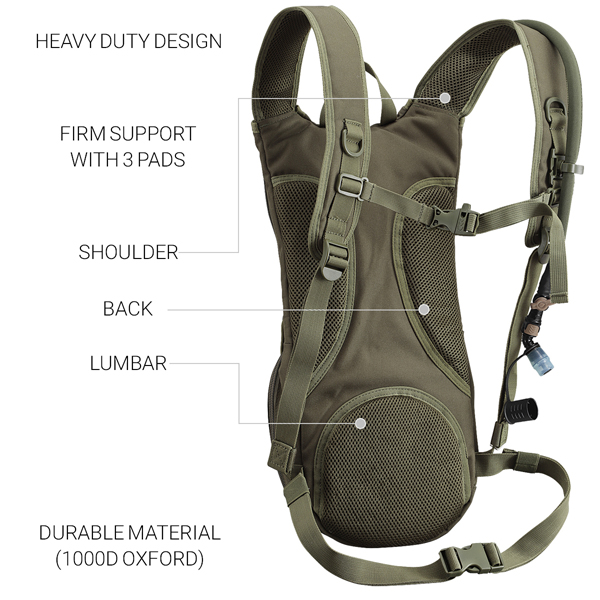

You want a hydration bladder made of BPA-free, tasteless TPU (thermoplastic polyurethane). TPU is cleaner, softer, and more bend resistant than the other materials used on the market. This includes the drinking tube. Find a hydration backpack with insulating material around the tube to prevent freezing in cool weather.
Make sure the plastic used for the cap is durable. A leaking reservoir is a nightmare on the trail!
When Should You Use a Hydration Pack?
You can use your hydration backpack for several amazing outdoor activities.
Mountain Biking
Use a hydration backpack when mountain biking! Many Cross Country and trail riders utilize this hydration system due to its ease of access while pedaling, comfort, and functionality.


Day Hiking
The convenience of an easy-to-access water reservoir in a pack that also fits some essentials is a day hiker’s dream. Using a hydration backpack means fewer reasons to stop and provides more time for hiking.
Trail Running
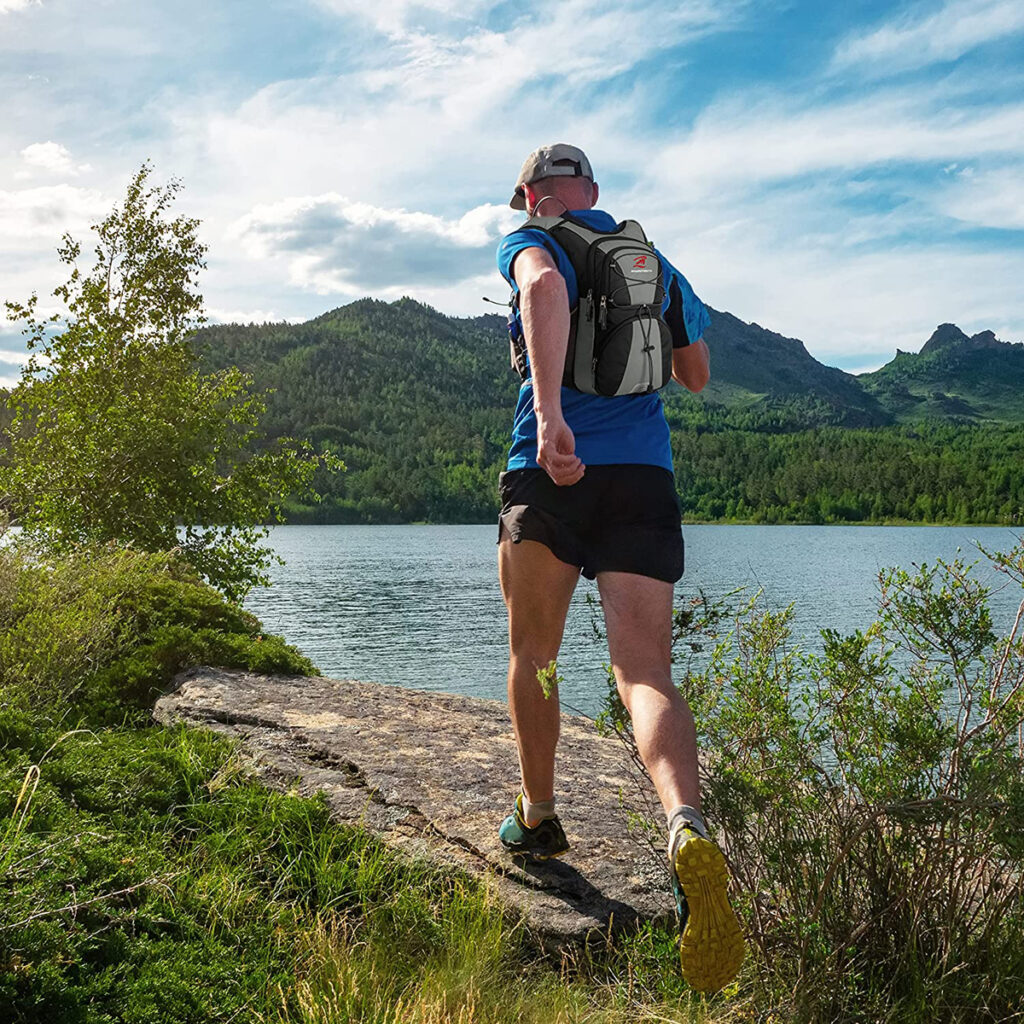
Although many trail runners will opt for a small bottle in their hand, others run with a hydration backpack or vest. Finding a nice and snug pack will play a massive role in your trail running comfort.

Skiing/Snowboarding
Because it’s cold, people often forget to hydrate while skiing and snowboarding. Throw a small hydration backpack on and have access to water, snacks, and your essentials at all times.
Festivals
Hydration backpacks are perfect for music festivals. Don’t worry about setting your water bottle down and losing it or having someone take it from you. You have access to your water at all times and have some space for a few extra items.
Purchase your KAMUI hydration backpack today and stay hydrated throughout every outdoor recreation activity.
Resource:

