Phone
+1-650-666-095
Contact E-mail
[email protected]
Address
16192 Coastal Hwy, Lewes, DE 19958-3608
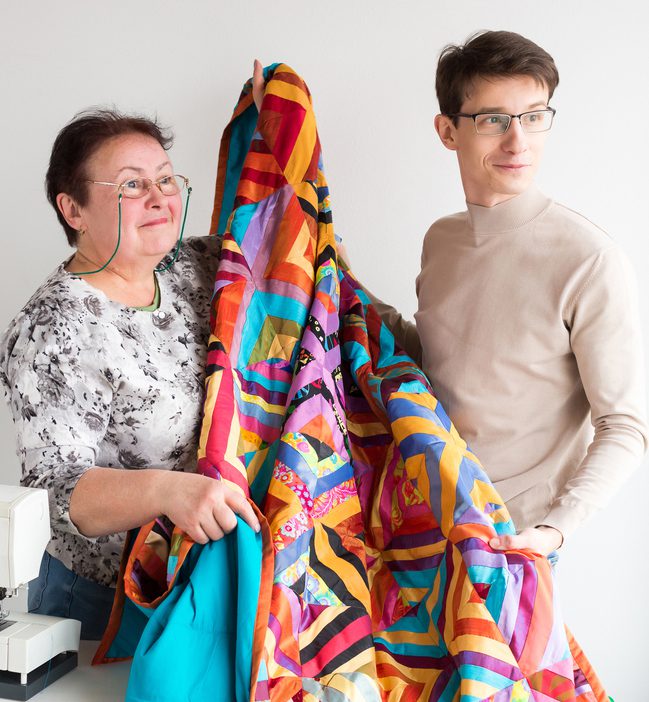
DIY Picnic Blanket: How To Make It In 2 Different Ways

If you’re looking to spend more time in nature this Spring and Summer, try eating a meal outside! Enjoying the outdoors doesn’t need to be complicated.
A DIY picnic blanket, delicious food, and good company are all you need to spend more time in nature this year. We’re here to share a 3-step DIY Picnic Blanket, how to sew a picnic blanket, and five items you could use for a picnic blanket.
3-Step Non-Sew DIY Picnic Blanket
Make an inexpensive, sew-free DIY picnic blanket for your next outdoor adventure. You’ll be ready for a picnic lunch on the lawn in three easy steps!
Materials You’ll Need:
- a fleece fabric
- a piece of vinyl cut to the size of the fleece fabric
- heavy duty snap plier used to punch holes and attach snaps
- snaps
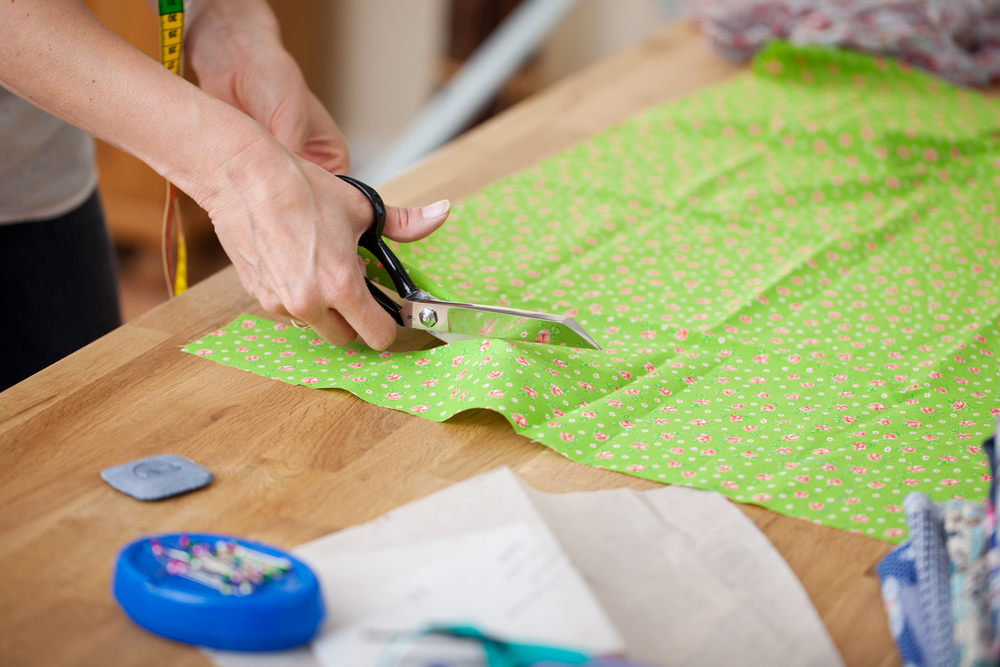
1. Find and Cut Fabrics
The first step in creating your kind of picnic blanket is finding suitable fabrics. Choose a vinyl and a fleece fabric that you like.
Next, have both fabrics cut to a size of your choosing. Consider how many people will be sitting on the blanket, if you want a square or a rectangle blanket, and preferred storage size.
Picnic blankets for a couple generally measure 60” x 60”. You should cut your fabric to 78” x 59″ for a family of four. Your vinyl and fleece need to be cut to the same size of the blanket.
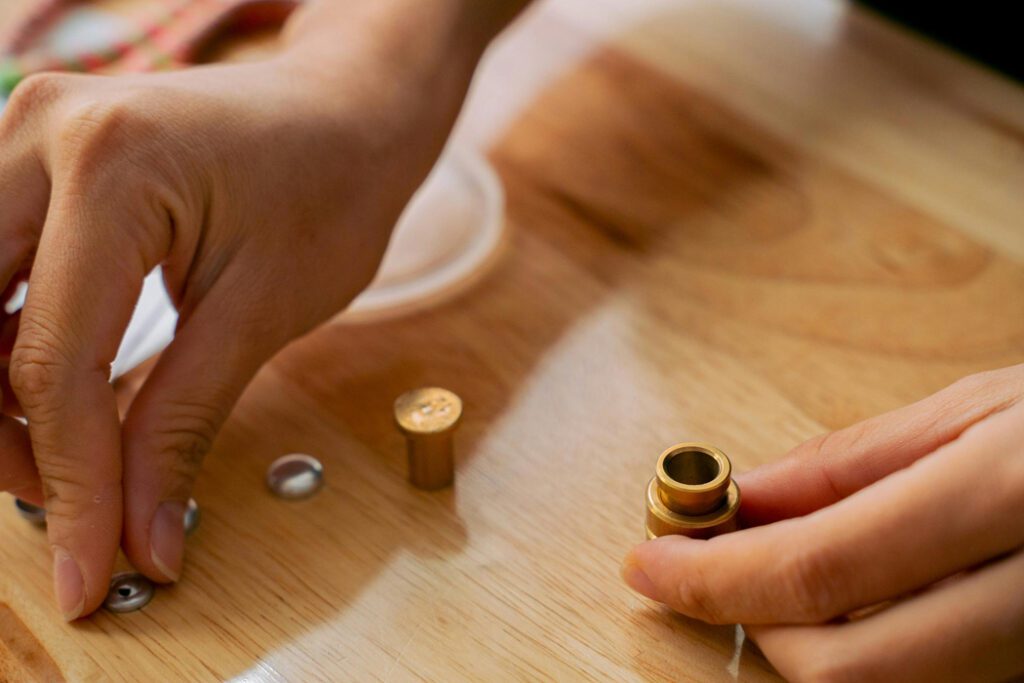
2. Add Holes
Purchase a pair of heavy-duty snap pliers. They are an easy-to-use tool for applying heavy-duty snaps to items like coats, denim, and other winter wear.
In this case, we’re going to use them to attach the two pieces of fabric. This allows for easy assembly and even easier cleaning of your Picnic Blanket.
Line your two pieces of fabric together and attach using sewing pins or clips. Once your materials are aligned, use your snap pliers to put holes in your fabric.
3. Add Snaps
Once you have holes in your fabric, you can add the snaps. Use the snap pliers to help you do this.
The heavy-duty snap fasteners are a great way to connect the two pieces of fabric. It makes assembly and clean-up quick and easy!
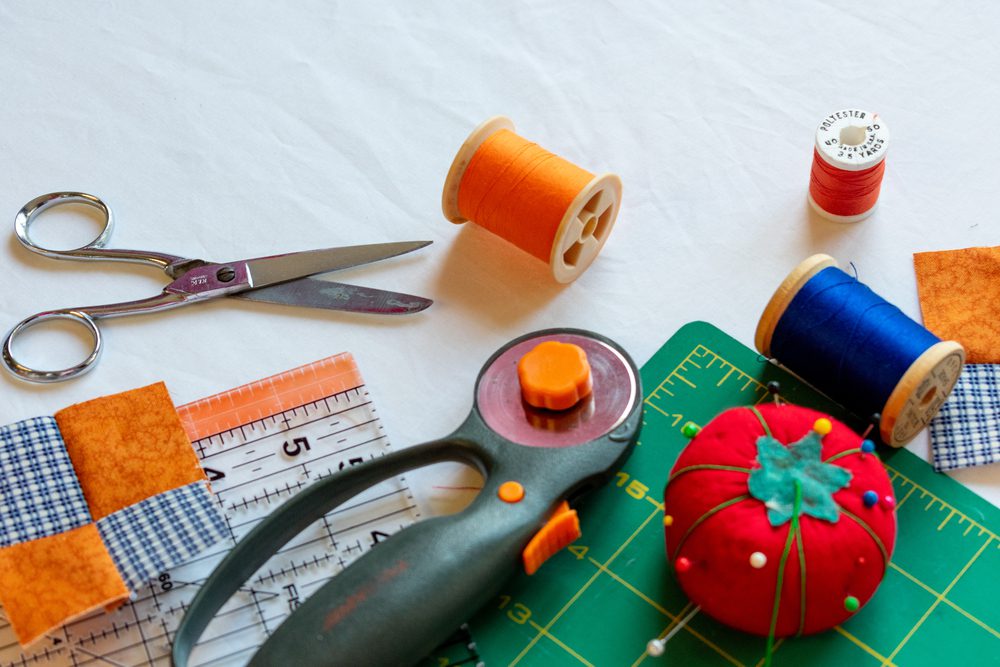
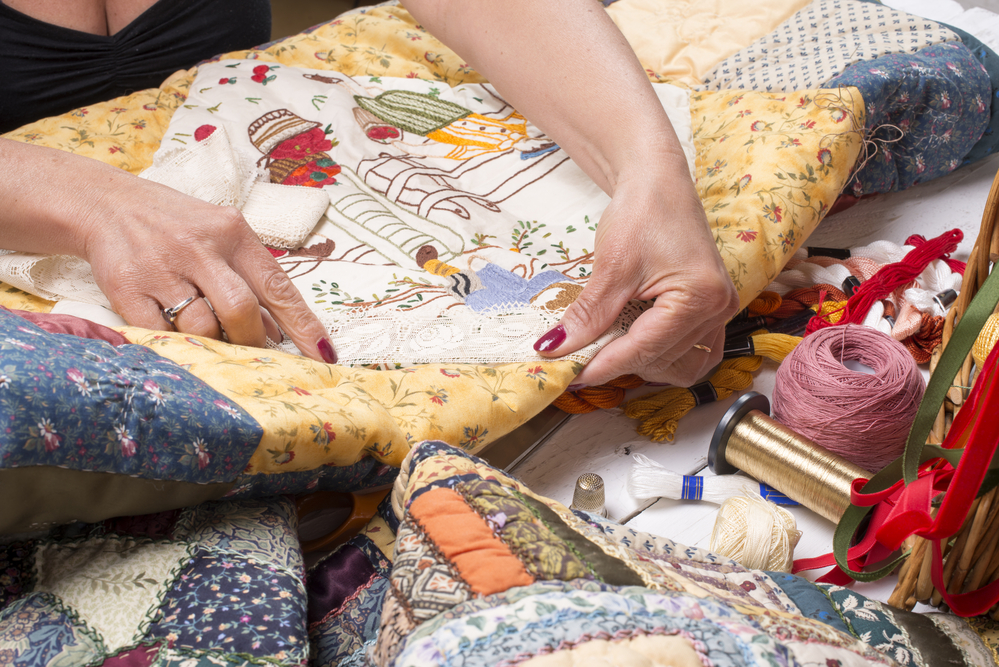
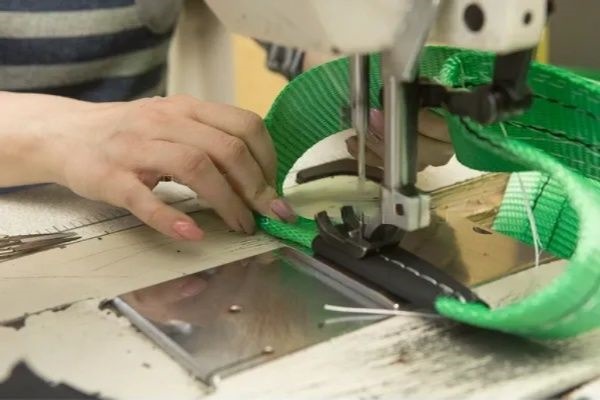
How to Sew A Picnic Blanket in 10 Easy Steps
1. Collect your materials.
To sew a picnic blanket, you are going to need:
- A sewing machine
- Two Durable Fabrics
- Two durable fabrics are necessary because you’ll need a top and bottom that can withstand the outdoors. Polypropylene, canvas, or duck cloth are great fabrics to use.
- 55” Wide Batting
- Batting is used in various sewing and quilting projects as a layer of insulation between fabrics. Batting is the filling that makes blankets warm and heavy.
- V-69 Polyester Thread
- V-69 polyester thread is s a middleweight thread. It is most often used for sewing lightweight furniture upholstery, outdoor gear, garments, and upholstery. Size 69 is the largest size most home sewing machines can handle.
- Seamstick 3/8” Basting Tape
- Basting Tape is a double-sided adhesive that bonds well with more rugged fabrics—using basting tape before sewing provides more accurate, even hems and water-resistant seams. Basting tapes are not removed; they are left permanently in place and are invisible!
2. Choose Top and Bottom Fabric
Decide which of your fabrics you want to wrap around the other. That will be your top fabric, and the other will be the bottom during construction.
If one of your fabrics is more durable than the other, such as canvas and fleece, wrap the fleece fabric around the canvas. Also, determine the finished size you’d like your blanket to be.
Remember, square blankets for two are often 60” x 60”. A family of four would be looking for a 78” x 59” blanket.
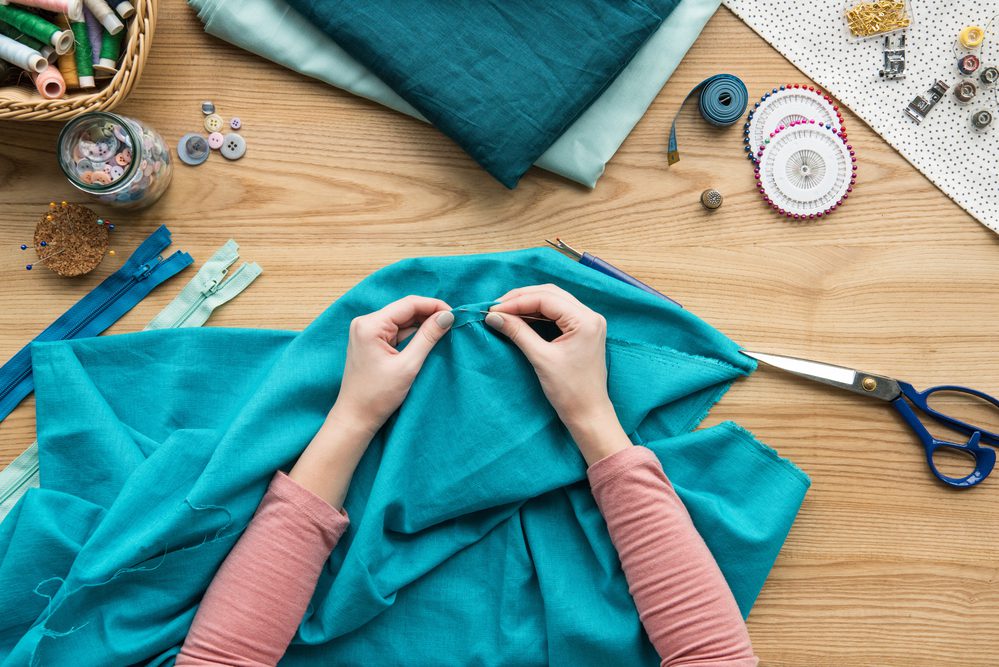
3. Cut the Fabric
Next, you’ll cut the bottom piece of fabric and the batting to the desired finished size of the blanket. Measure the top fabric to the finished size plus 2 and 3/4” on each side and then cut. This extra fabric will be the border of your DIY picnic blanket.
4. Stack the Fabrics
After all the pieces are cut, stack them so the top fabric is on the bottom, closest to the ground. Lay the batting on top and then the desired bottom fabric over that.
5. Line with Basting Tape
Once everything is laid out, run a row of basting tape along the edge of the larger piece of fabric.
6. Create A Hem
Fold the piece of fabric with the basting tape over and onto itself, creating a hem. Then attach basting tape along the hem and fold up and over the batting onto the smaller piece of fabric.
7. Fold the Corners
Next, we’re focusing on the corners. We will create a mitered corner, a corner where both sides come together at a 45-degree angle.
This can be tough to explain and videos are always helpful! We suggest watching a youtube video for a tutorial on pinching and sewing a mitered corner.
8. Sew A Border
With all the corners in place, you’ll have to sew a row of stitching around the perimeter. Sew your border about ⅛ inch away from the edge.
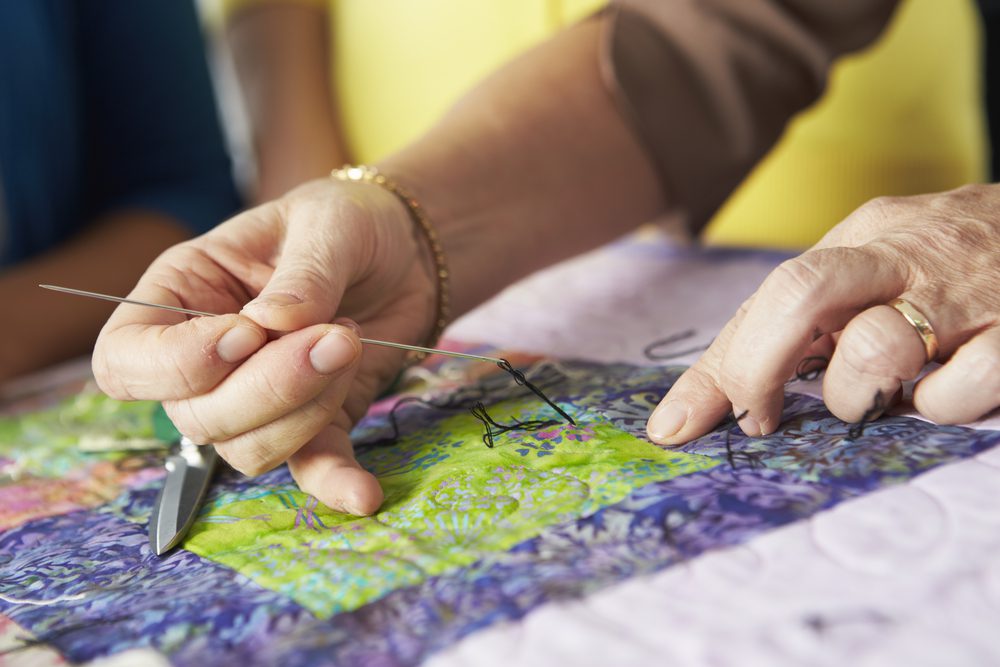
9. Start Your Quilt Pattern
Next, use a fabric marker to mark the center of each edge. Use a ruler to connect the center locations to form a diamond and mark the lines with a fabric marker. Run a row of stitches over the lines you’ve drawn to quilt a diamond in the blanket.
10. Finish the Pattern
Measure 6 inches from the diamond and create another diamond. Continue to measure and create diamond patterns until you have your desired design.
You can also look at other quilt design options for inspiration. The Diamond Strategy is pretty easy to accomplish!
7-Step DIY Picnic Blanket Carrier
Build a picnic blanket holder so you can transport it to whatever outdoor space you’d like.
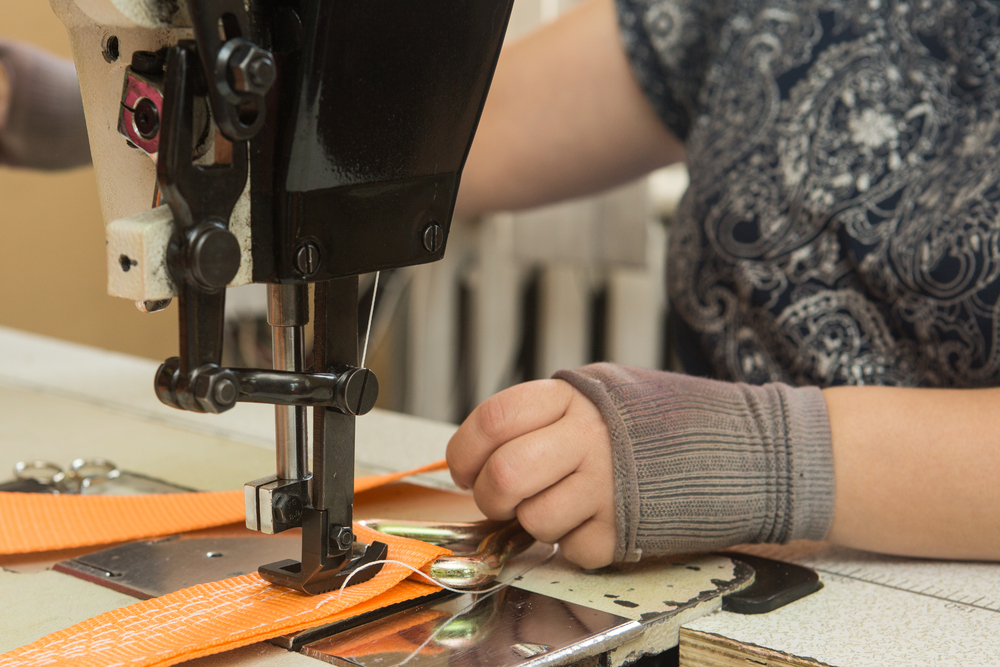
1. Pick Out Nylon Straps
Find strap nylon strap material at your local craft store and buy a few feet of it.
2. Measure Around Rolled Up Blanket
Wrap the strap fabric around the rolled-up blanket to see how much you need.
3. Cut two Straps
Cut the strap you have wrapped around your blanket and then use it to measure another strap to be the same length. Lay the two straps parallel to each other about 6 inches apart.
4. Cut Cross Pieces
Measure one cross piece to be the exact width of the straps you’ve laid out. You want this cross piece to run from the outer edge of one strap to the next. Cut an additional cross piece to be a few inches longer than the width of the two straps.
5. Add Snaps to Straps
Add snaps to the straps of your DIY picnic blanket carrier by wrapping the straps around tight and using the snap pliers to connect the overlap.
6. Connect Handle
Add the handle by laying the perfect width cross piece over the straps to create an “H” shape, and then put the longer piece over that one. Now you will use the snap pliers to punch through three layers of nylon to attach the carrying handle to your straps.
7. Prevent Fraying
The end of the straps will likely start to fray if you don’t add a brass detail or melt the nylon strands together with a lighter.
Can I Plan a Picnic At Home?
You can have an amazing Picnic from the comfort of your home. KAMUI shares five foolproof steps to the perfect at-home picnic.
- Choose a Theme
- Create A Comfortable Space
- Plan your Food
- Choose Perfect Tunes
- Exciting Entertainment
Read the full post for a detailed explanation, including unique theme ideas and entertainment that anyone would love!
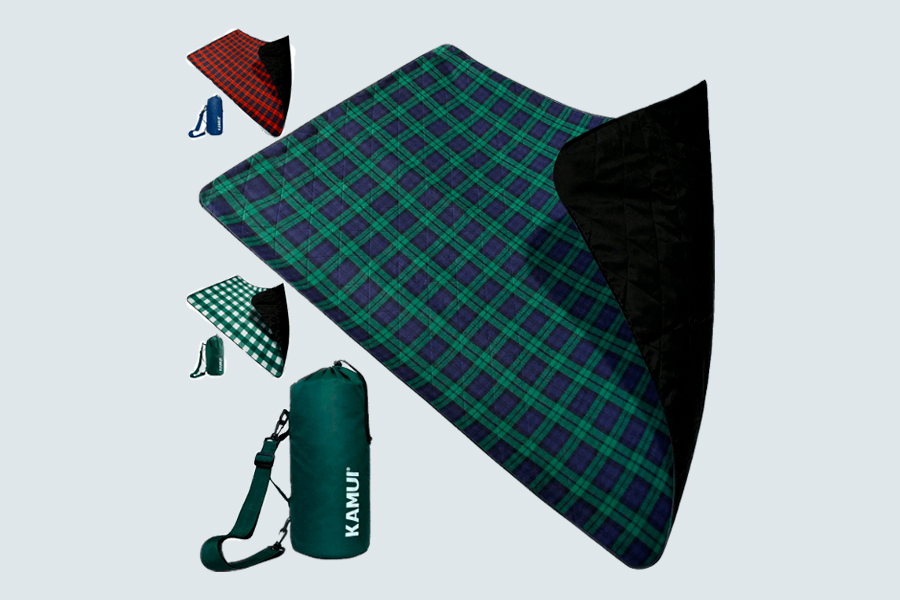
KAMUI Outdoor Blanket
- Waterproof
- Carrier bag included - portable
- For 2 - 4 people
- Machine washable